For the last year or two, there’s been a constant stream of tie-dye in fashion magazines, on all fashion social media platforms and especially my Insta.
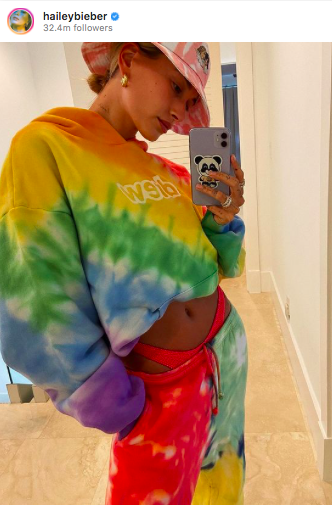
I especially love Hailey Beiber and Dua Lipa here.

As we’re all locked down for what seems like an eternity, I thought it would be a nice idea to talk about how to DIY tie – dye.
Of course, you can buy pre-made tie-dye items on net, but let’s be honest, it’s way cooler to make your own. And more sustainable, especially if you’re giving new life to a ratty old t-shirt. Plus, it’s a fun (and cheap) way to spend a day that doesn’t involve another walk around the park.

You can dye bed sheets, underwear, socks, hoodies – almost anything really, with these techniques. Remember, it is recommended to dye natural fabrics like cotton or linen, as synthetic fabrics like polyester may not take the dye as well. Once you start, you might find yourself hunting for all your white items to dye.
Here’s everything you need to know about how to tie-dye your clothes at home.
You’ll Need:
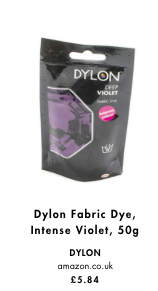
- A selection of coloured fabric dyes – I suggest DYLON Hand Dyes.
- A clean white cotton or linen shirt (could be any white item, but synthetic fabrics like polyester may not “take” dye as well as natural fabrics)
- 250g of ordinary salt
- Measuring jug (glass won’t stain)
- Large rubber bands (hair elastics work fine too, in a pinch)
- Rubber gloves
- Recycled plastic bottles (ideally one for each dye colour – squeeze spouts give you more control when applying the dye)
- Bin bags to protect your surfaces
Getting started
- Wet the clean shirt, squeeze out excess water, and leave damp
- Put on rubber gloves to protect your hands (and manicure) from staining. Protect your surfaces with an old towel or plastic bags
- Choose colours carefully. (Different shades of the same colour always work well– like Dylon’s Vintage Blue and Paradise Blue. Or, try complementary colours, like Intense Violet and Passion Pink.)
- Dissolve the dye in 500ml of warm water in the measuring jug
- Mix in 250g (4tbsp) of salt and stir well
- Pour the mixture into a plastic bottle for easy dye application
- Repeat the dye and salt mixture if adding additional colours
- Choose your pattern technique
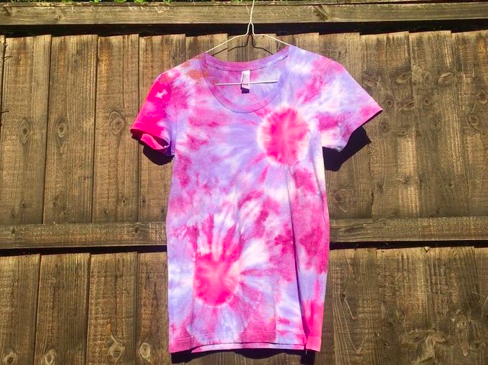
- Gather a two-inch section of the shirt, and tie off tightly with a rubber band. Then, add another rubber band a couple of inches further down.
- You can place a single bullseye splodge in the centre of the shirt, adding bands periodically, or do a couple at random, off-centre, like I did above. The tighter you tie the rubber band around the shirt, the cleaner your white spaces will look.
- Pour a different colour of dye onto each section of the shirt.
Final steps
Rinse the measuring jug clean, and rest the bound shirt in it
Leave shirt to sit for a minimum of one hour to allow the dye to seep into the fabric
Without untying fabric, rinse in cold water until the water runs clear, then untie and wash in warm water
Hang to dry – make sure it is away from direct sunlight
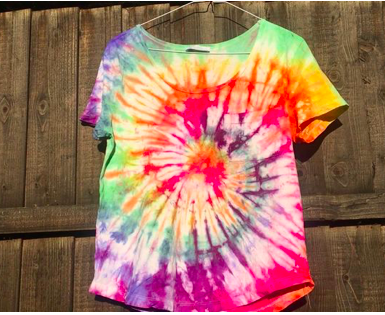
Now you can enjoy wearing your one-of-a-kind creation. Be prepared for lots of compliments, and for everyone to ask you if you can teach them how to do it.


