With the UK currently on lockdown, of course most businesses have shut – regrettably including our go-to beauty salons.
As the solitude continues, some across the country are starting to feel pretty desperate for an eyebrow wax and a fresh set of nails. And while admittedly there certainly are more important things to be worrying about right now, a hairstylist from Florida, posted a manicure trick on IGwhich quickly went viral.
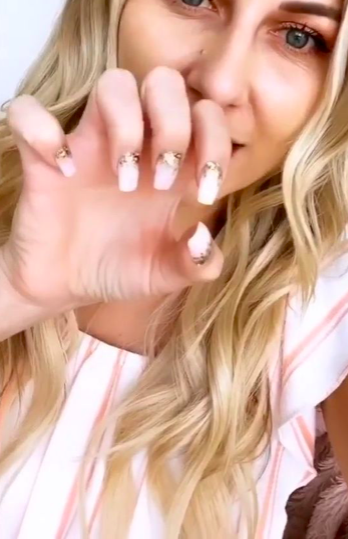
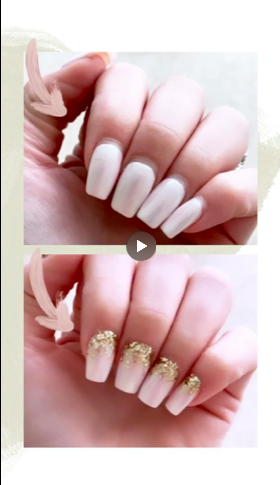
As your nails grow through and the gap between shellac or acrylics begins to show, she discovered the trick of applying glitter to the regrowth at the bottom of her nails, right down to the cuticles. This hides regrowth and looks like an entirely new manicure. You could even to go a little further up the nail, creating an ombre effect.
If, like me, you need help in the eyebrow dept, then before you go reaching for the tweezers or trying an “at home” waxing kit, you might want to read of some expert advice.
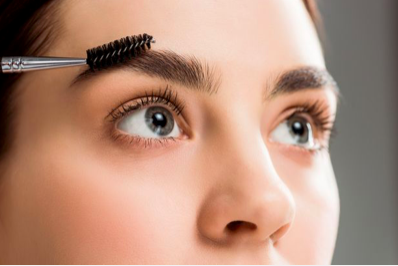
Beauty pros from Cosmetify have been sharing their top tips for doing your own eyebrows. The advise letting your brows grow out fully, before doing any grooming. And while this might not sound ideal, what better time than to let your brows get bushy then whilst stuck at home and not seeing anyone?
They explained: “It’s best to allow your eyebrows to fully grow out in order to figure out their full, natural shape.”
Then once your brows have grown out, you can determine how long they should be and where the shape starts – and to do this, all you need is a pencil.
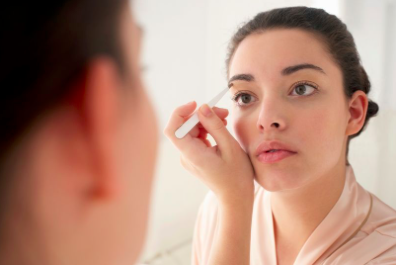
“To determine the length, hold a pencil up to your left/right nostril and point it straight up towards your forehead,” the pros instructed. “This indicates where your brow should start. Turn the pencil diagonally, still holding it in line with your nostrils to figure out where your brow should end, ensuring it is past your eye’s outer corner.”
When it comes to working out the length, you’ll be using that same pencil once again. However, this is where it gets a little more complicated. Hold the pencil next to each nostril at a 45-degree angle. According to the experts, your natural arch should begin wherever the other end of the pencil lands.
The pencil should be going just past your pupil.
Once you’ve worked out where exactly you need to be grooming/shaping, it’s time to get going with the tweezers or wax. Make sure you’re starting with a clean, dry canvas and that means no traces of brow pencils, gels or powders and try to avoid applying anything that’s oily or greasy beforehand, such as self-tanners or serums.
And it’s important to remember that brows should be sisters, not twins, as focusing too much on making them identical could lead to over-plucking.
Try not to get too “tweezer happy” and pluck everywhere. Instead stick to rogue hairs in the middle of your brows, under the brow bone and around the eyelid.
You also shouldn’t be plucking your brows every day, instead they suggest doing it every three days or so, depending on how quickly your hair grows back.
And if you’re really worried about being precise, you can always use an eyebrow pencil to draw your preferred shape onto your brow and use it as a guideline when tweezing.
Any mistakes you make aren’t the end of the world, as you can always just fill your brows in with a product – plus you’ve got plenty of time to kill while the hair grows back.
Happy plucking and nail decorating.


